
Some noveling apps are super expensive. What most people don’t know is that a few simple techniques can be used to turn a free word processor into something that does exactly the same only for free.
If you do not already have LibreOffice (or Open Office), you can get it for free here.
This is a technique that works both for discovery writers to keep notes and planners to do planning.
Step 1 – get organised
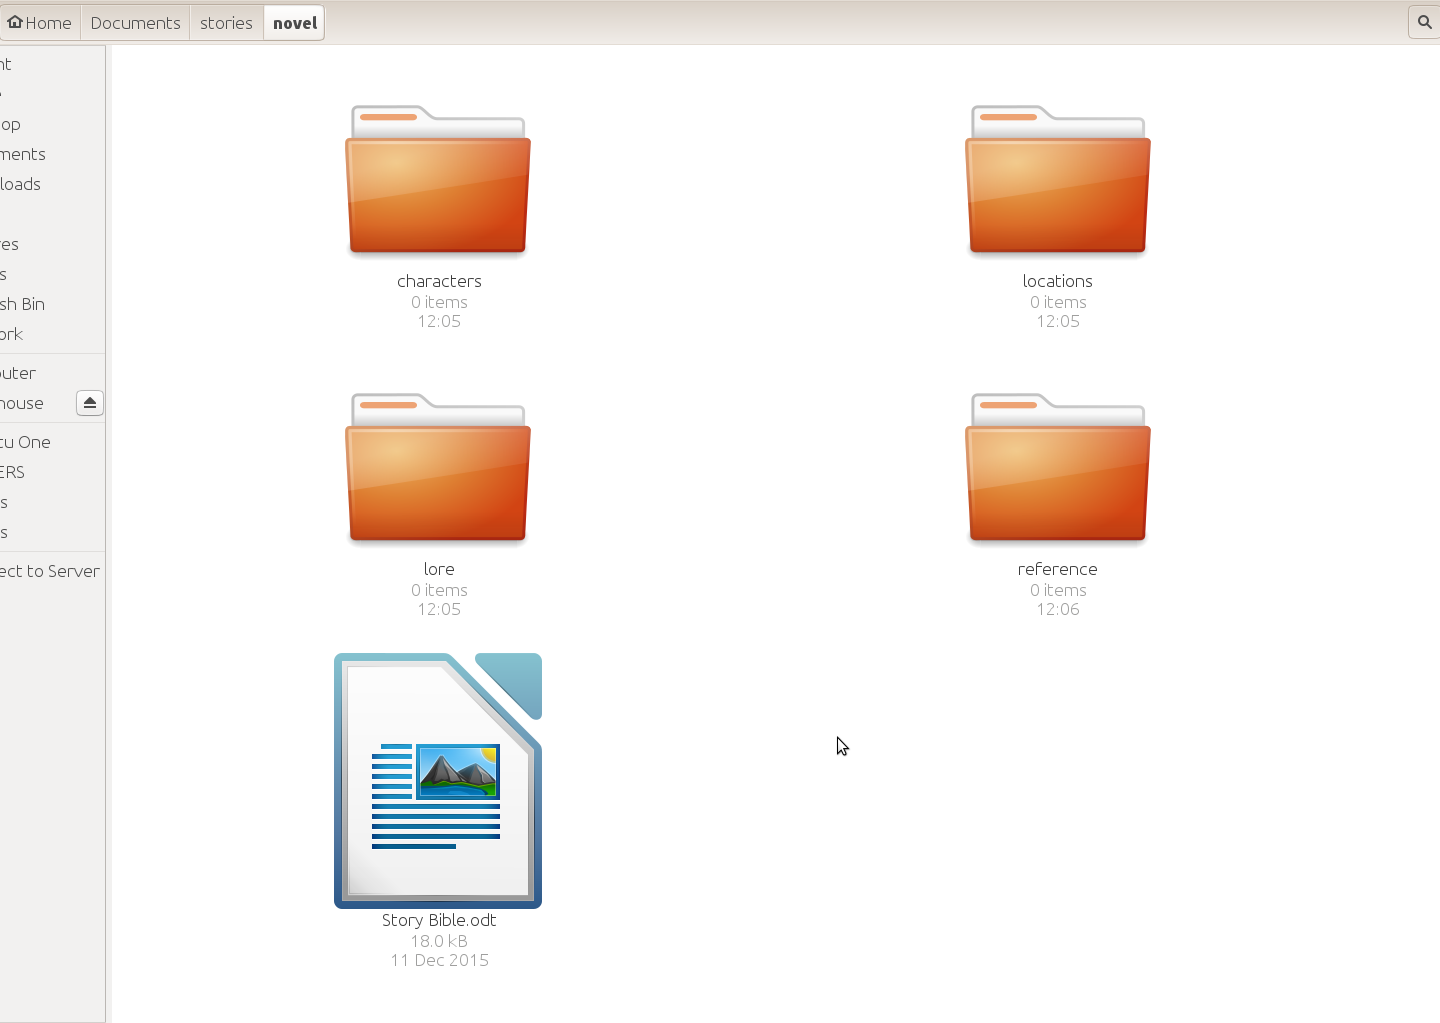
To get started turning LibreOffice into a noveling app we need to do a little planning. The first thing you may want to do is create some structure in a folder for your novel.
In this example, I have a folder for characters, one for locations, another for lore, and a fourth for general reference. This is a skippable step but it makes life easier as you get into planning or making a lot of notes.
You can always add more folders if you feel you need to but you will break things if you start moving files arround later. This method requires a little planning for the future.

Step two – make the story bible
Your story bible is the guide to everything in your story. Like your folders. The story bible starts as a blank document.
To make things work for us, we are going to use the styles setting.
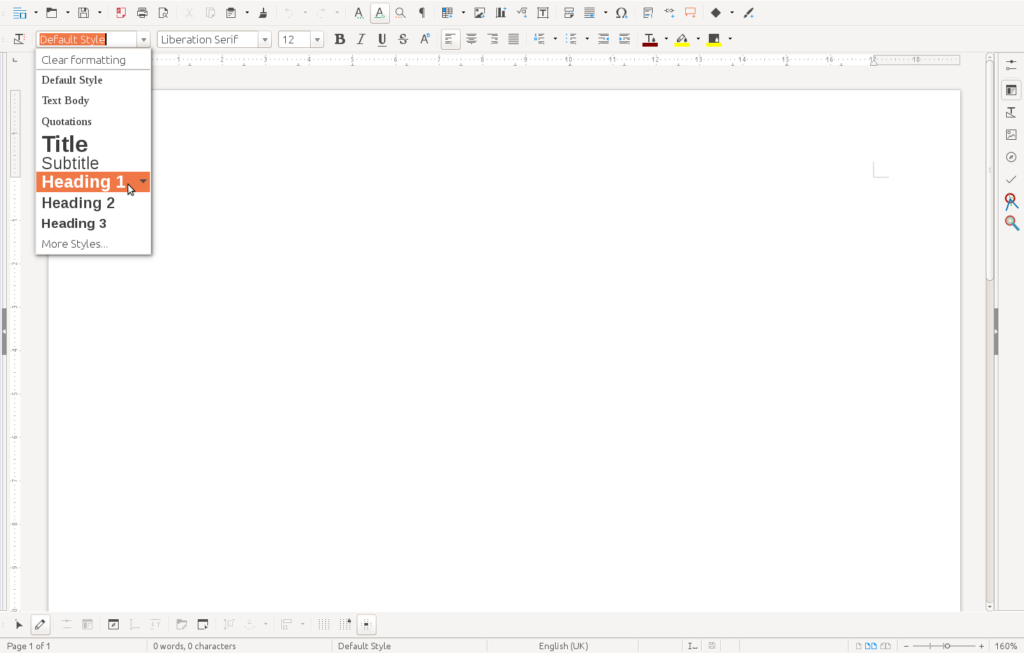
Notice that you can set things as Title, Subtitle, heading, or Text Body. It is important to use style types rather than formatting directly with font sizes, bold, etc.. There are two reasons to do this – ease of changing things later and auto-generating some parts of your document.
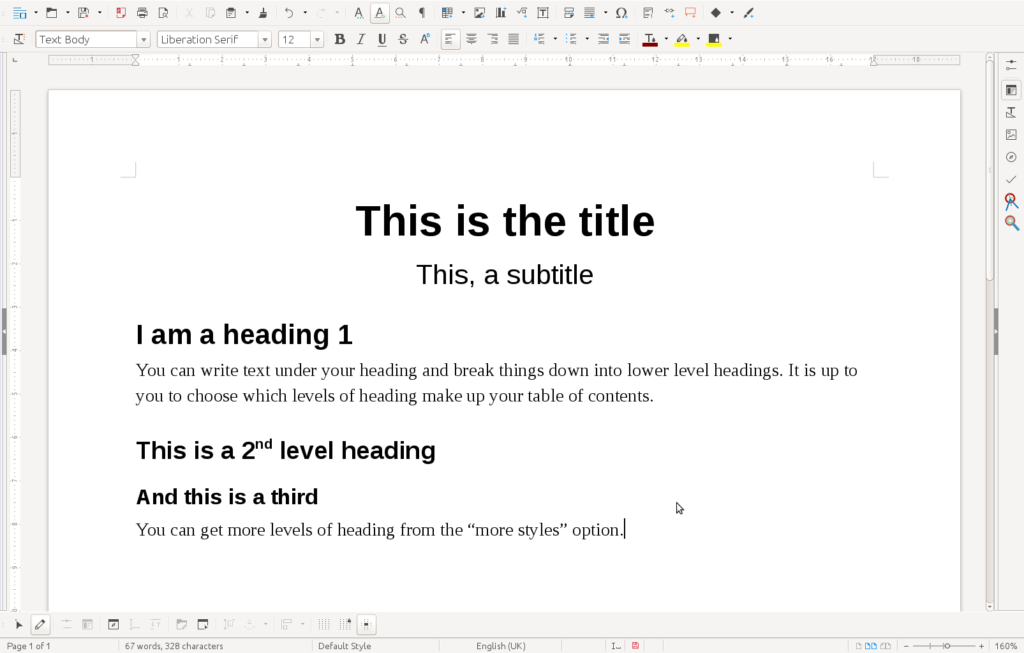
Your most important sections should be under a Heading 1. This not only looks nice but we can use it to generate a table of contents.
By default you will have three levels of heading. Should you need more or want to change how they look, you can click “more styles” and work from the full list. You can also modify how different things look.
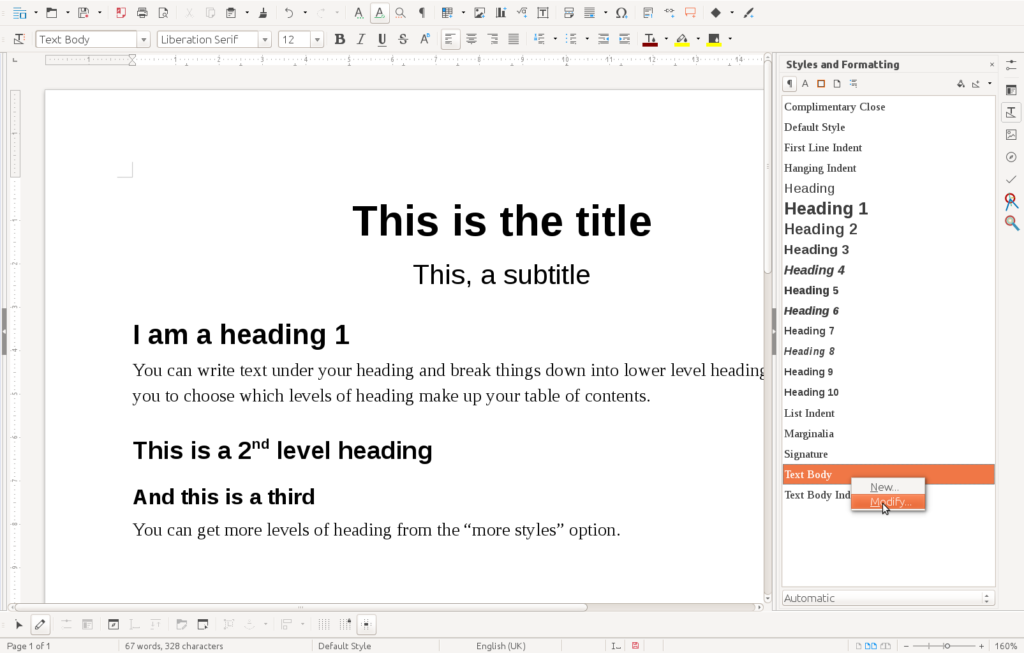
Advanced users might like to define additional paragraph styles for themselves.
You will want to create a heading called “index” or “table of contents” or something similar. Then you will want a heading for each folder you created. In my case, characters, locations, lore, and reference. however, you can make as many folders as you think you will need.
Step three – get a table of contents
You will be using your table of contents quite a bit to navigate your story bible as it grows.
If you have not done so yet, add a heading “index” or “TOC” or whatever you want to call it.
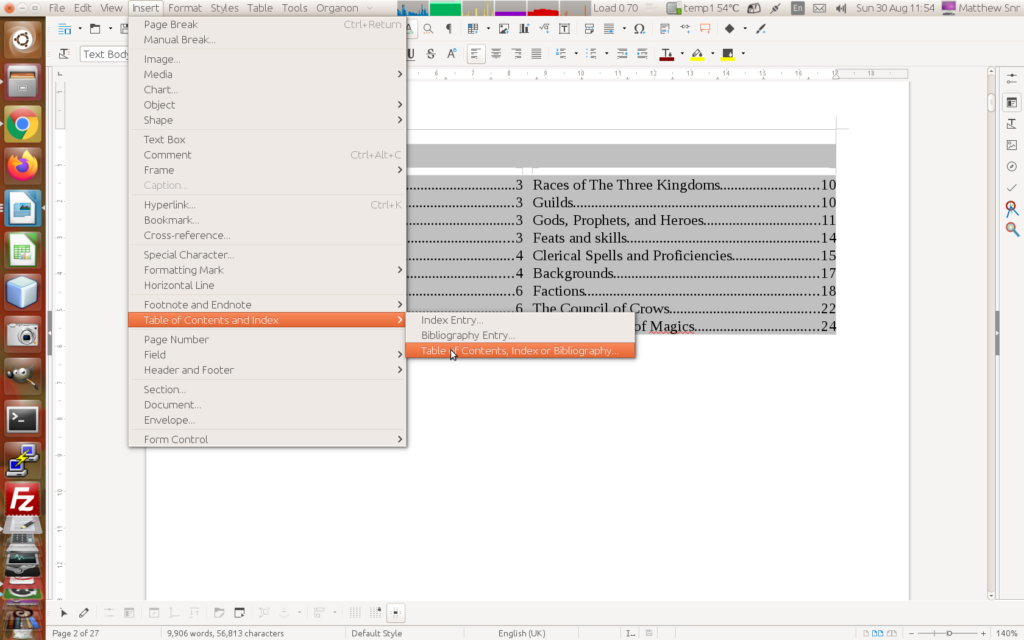
To make the table of contents, click Insert > Table of Contents and Index > Table of Contents. Like this:
In the dialogue box that opens up, you will want to set Evaluate to level to 1. This will use only first level headings. Set it to 2 or 3 to use more levels of headings. Because you used the headings format option from step two, LibreOffice knows how to build your table of contents.
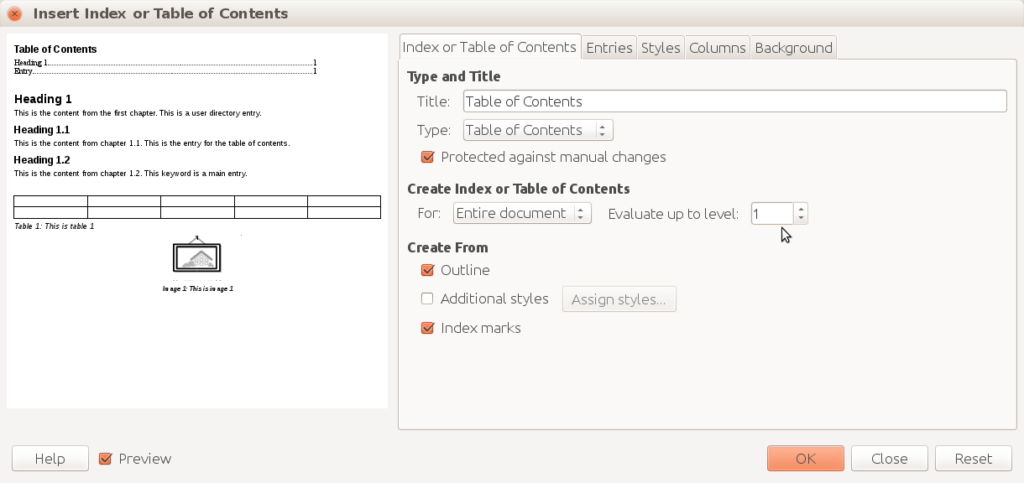
You can make other choices like columns, background colour, additional styles (maybe you invented a special type of heading), etc..
This Table of contents is currently up to date. It will update automatically each time you close and reopen the document or you can right click and select update table of contents.
Most usefully, the items in your table of contents are clickable and will take you straight to the page where the heading is.
Step four – improve your navigation
You do not yet have a fast way to get back to your index. So it is time to use the footer.
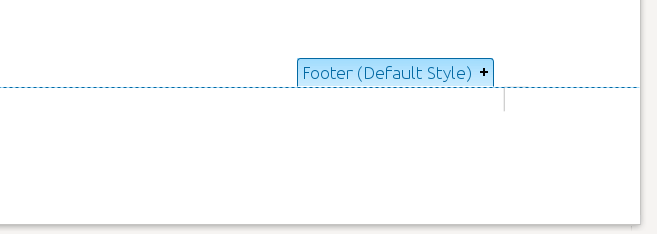
Use the Footer tab (found by clicking in the footer space) to add a footer.
Then hit tab which should take you to the middle and type “Index” (or “content” or whatever).
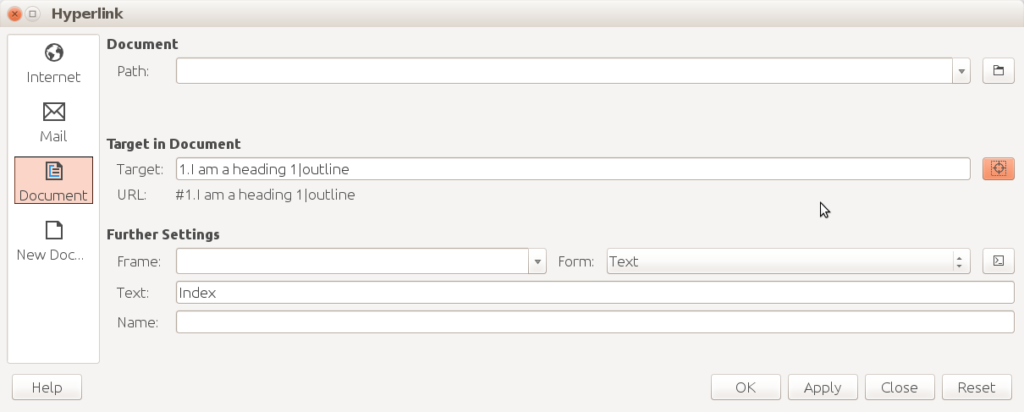
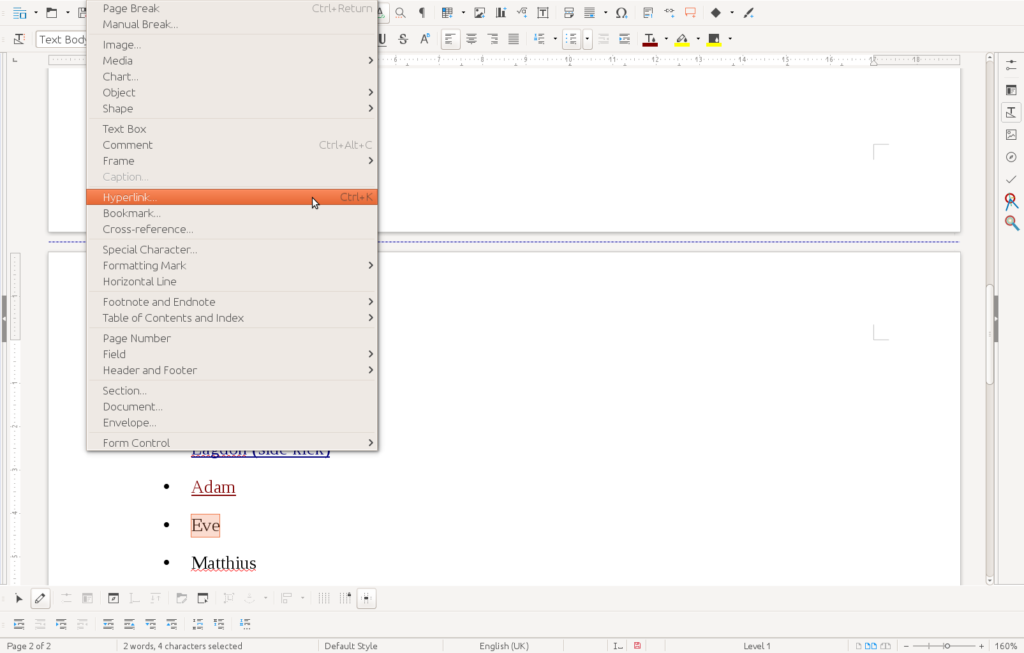
We are going to make that a hyperlink. Hit Insert > Hyperlink (Ctrl+K). We will talk about hyperlinks much more in the next step.
Pick Document on the left and Target in Document using the little button to the right of the box. This will show you a list of things LibreOffice understands including all your headings. Happily, this now means you can zip to your index from any page.
Your new fast travel link should look something like this. Click it to move quickly to the index (table of contents).

You will want to do something similar in any documents you make inside your folders. We will get to that shortly.
Step five – make links
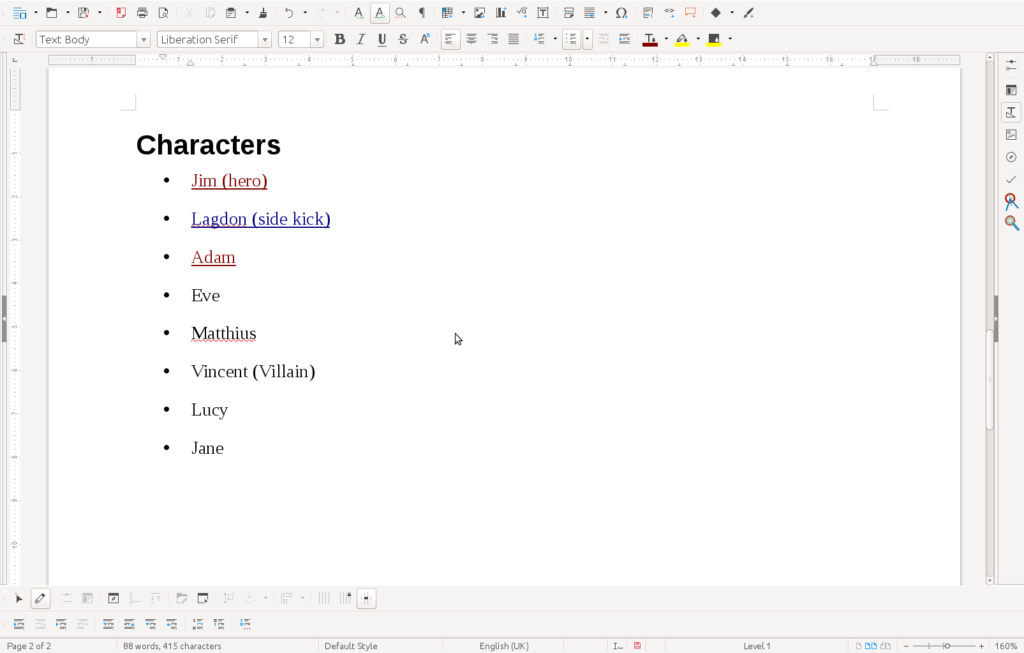
Now you have the structure finished, it is time to start actually creating things. I like to use the bullet point button to make a list of character names (with hints of their role) under characters.
You can also add text as a list or in paragraphs under the other headings. Every time you mention something significant (a character, a place, lore, etc., you will want to make it a link.
I suggest for characters that you use the Thanet Creative character template. You can get a copy from the Thanet Creative Skills Centre – it is free but you will need to make an account. You will find it (called Character Pholio 3) in Worksheets & Guides for the Creative Writing free-form learning class. The OTT file is a preformatted template that can be used to make blank documents with the character sheet already set up. You may wish to follow this guide for adding new templates to your LibreOffice.
When you have typed one or more important character names. You will want to link to the files. So it is time to insert hyperlink (Ctrl+k).
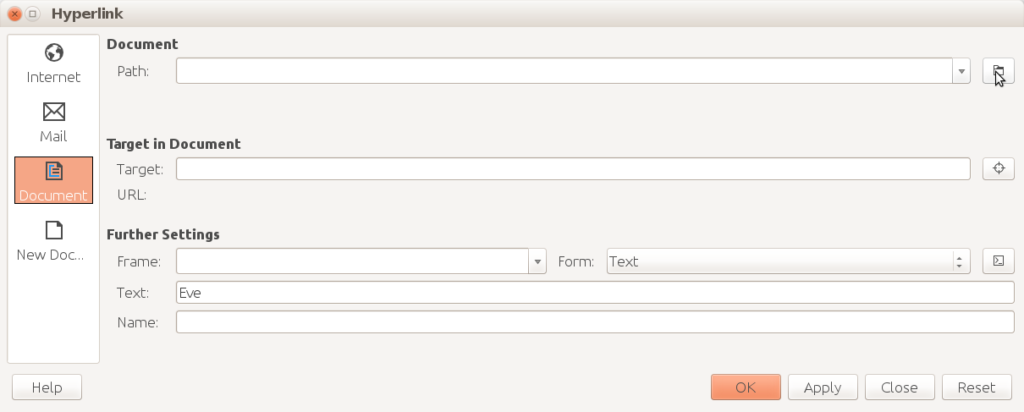
To add another document that already exists, use document and hit the button next to Path. This will open the open document dialog and allow you to pick the file.
You also have the option of adding a new file and editing it now or later.
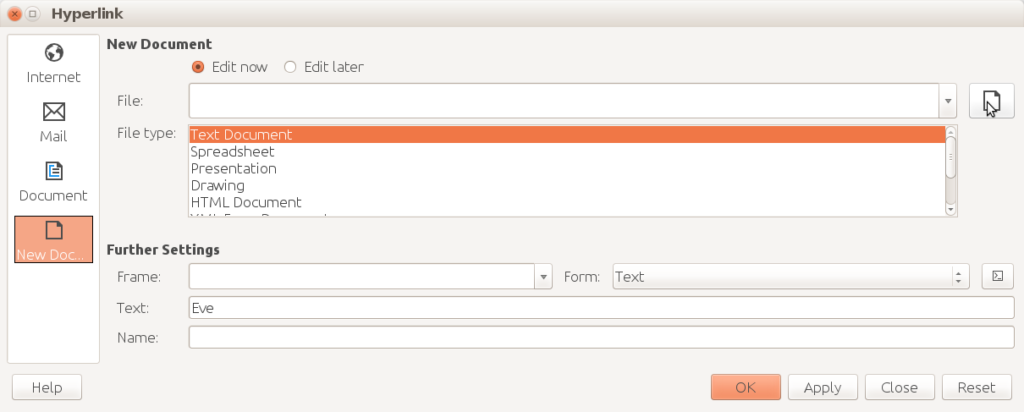
To add a new file (something you will do a lot of to start with), select New Document on the left and pick the file type and the folder you want to use. Hit apply and the link is made.
Now when you click that link the file will open or – if it is already open – the file will be brought to the front so you can see it.
The files you make do not have a fast link back to the Master Story Bible file. To fix this, add text to the footer and hyperlink it to the story bible file. This is exactly the same as linking an existing document which we covered a few screenshots ago.
With a Story Bible link in the footer of your files, you can zip back to the story bible with a single click.
Step six – write some stuff
Now you can start writing stuff. Make new files for locations, characters, lore, and anything else you want to document. I strongly suggest you give your files clear names so you can find them quickly to link to.
There are no limits to what you can put in a document. Tables, pictures, screenshots, drawings, links to websites… Whatever you need, you can add.
Remember to link keywords to their files or sections within files (you can link to a heading in another file). Think of this as your own private Wikipedia for your story. Once you get used to hyperlinking, this will be a fast and easy way to give yourself access to documents about all aspects of your world.
You can now write about all forms of plot, world-building, magic systems, and so forth. All you need to do is think of interesting headings to write under. (more on that later)
Organisation is key when any file can be used
The better organised you are with the first steps of planning, the more intuitive the writing and creating process will be.
You can link to files that are non-LibreOffice files. As long as your Operating System (Windows, MacOS, Linux, etc.) knows how to open them, they will work just like your documents, drawings, presentations, and spreadsheets.
I’ve used Gramps (a free family tree research program) to map out the relationships between a large cast of characters before. I added a screenshot to my story bible and kept Gramps open for detailed searching.
You could link to writing music, videos, tutorials. Pretty much anything can be added to your story bible.
Step seven – reuse stuff (optional)
For roleplay games, I often need to reuse tables and maps. This can be done by making these repeated parts a file on their own. Insert > Section is what you want to use.

You can select the file and even the section within the file. This will then be added to the story bible document. If you make changes to the inserted document, close and reopen the story bible and say yes to updating from external files.
I use this to make a master document for a novel. Each chapter gets its own file in the chapters folder. Then when I have written a chapter I add a section and link in the chapter. This makes editing much easier because you only have the chapter you are working on to worry about.
If you want a printed version of your story bible you can use the add section method to combine all the files into a master story bible for easy printing.
Step eight – link to your writing
As you start to write your story, you can add links from your story bible (from whichever file makes sense). Link to the heading (chapter) and you can zip right to the relevant bit. This can be handy for discovery writers making notes about how their world works and where key events are.
Thoughts on headings
These are some heading ideas for different parts of your story bible. I’ve only addressed characters, locations, and lore but you could also have more folders depending on your needs. For example, magic, vehicles, mounts, pets, trade routes, NPCs, items, shops, quests, spells, dragons, trainers, etc..
It might be an idea to create a template for yourself with your common headings so you can start a blank document for a given area with your headings and info boxes already in place.
For characters
- Name
- Age
- Family & relationships (link to other characters)
- Likes
- Loves
- Hates
- Vices
- Virtues
- What do they want?
- Where do we first meet them (link to location)
- How they change through the story
For locations
- What and where
- Overview of location
- Notable features
- Relative lore (link to it)
- Pictures and mood board
- Nearby places (link to them)
- Significant characters found here
- Blueprints and maps
For lore
With lore, I would create a timeline document first. Each heading would be a time period year, or whatever. Then under the relevant year or century, I would write name of a significant event (The Kobold war ends, King Astimba assasinated, The Mage revolt, etc.). This I would then link to a lore document.
Like the story bible, I would link lore entries to the lore timeline so you can dip in and out of key moments.
- Event name
- Overview
- Who was involved (link to characters)
- Where did it happen (link to locations)
- (If using magic) magic used at this time
- Details (with links as needed)
- Images, mood boards, and maps
How does this work vs a dedicated noveling app?
The primary difference between this cleaver bit of organisation and a dedicated novel planning app is that you have to bootstrap some of the features yourself. A dedicated app has the templates, headings, forms, and layouts premade while with LibreOffice we have to build them ourselves.
However, with a little bit of planning and some understanding of what information and layouts we want to play with, we can have unlimited types of information.
What is missing?
What we don’t have are some of the more advanced features like automatically linking keywords to their files. Write the protagonist’s name and it does not link to their character file. We still need to add that link ourselves.
If you are sufficiently organised, you can easily add the needed links manually. However, if adding links takes too much time – say because you are still learning how to hyperlink – that could interrupt your flow.
Money vs Time
To work around flow interruption, it might be better to write the content and add the links after. Yes, that’s an overhead of a little housekeeping. As we everything in life, you pay with money, time, or quality. In our case, we’ve traded a little time for financial savings.
Now that I am fluent in making links and organising documents, that time overhead is really slight. Furthermore, my novel planning does not require me to learn a new program. My planning software is the same program I do my writing in.
Conclusions
We looked at how you can convert LibreOffice into a great little noveling app. We examined the folder structure that helps us stay organised. We talked about the different files you can use. We also took a dive into the tempaltes and headings that you may wish to create to help direct your thoughts while planning out different parts of your world.
I will probably create a set of templates for LibreOffice to help you get started but you may just want to create your own.
Let me know if you use this advanced way of getting LibreOffice to be your worldbuilding tool and let me know how it compares to some of the premium tools on the market.
Let me know your thoughts and suggestions in the comments.